Tutorial for Creating Oauth credentials for Google Voice gvsip
Created with pictures to make the process easier for those following my Freepbx asterisk gvsip ubuntu guide: How-To Guide for Google Voice with Freepbx 14 & asterisk gvsip, Ubuntu 18.04
RonR’s guide was used as a source: http://www.dslreports.com/forum/r30983990-Asterisk-OAuth-2-0-Support-for-Asterisk-13-or-Asterisk-14
I recommend using google chrome while following this guide, I also recommended being signed out of ALL accounts in the top right corner except for the one you are generating the tokens for. Using Firefox may result in getting a 400 error, stating that there is a “redirect_uri_mismatch” while trying to generate tokens.
Oath Credentials Creation
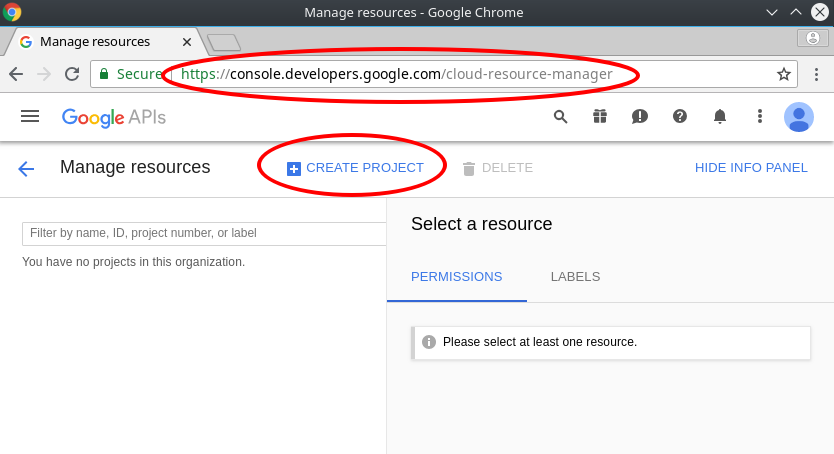
go to: https://console.developers.google.com/cloud-resource-manager
log in to google voice account
click CREATE PROJECT (then wait a minute, you can see progress in top right corner.)
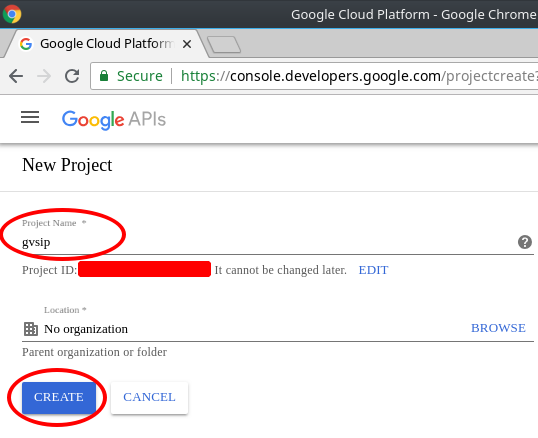
Enter a project Name (gvsip or whatever)
click CREATE
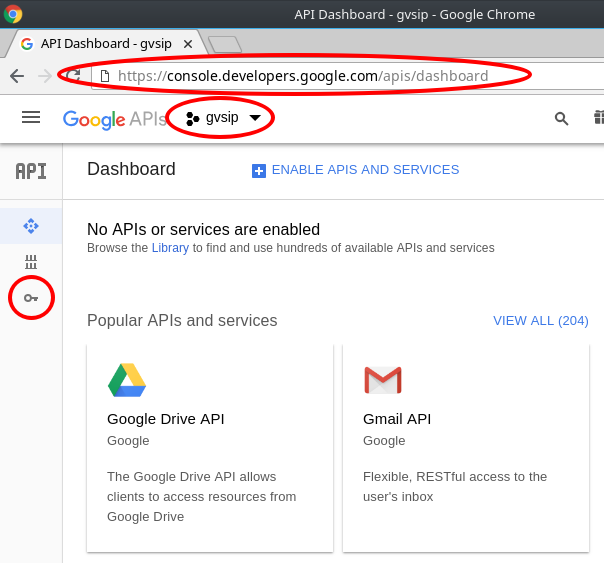
go to: https://console.developers.google.com/apis/dashboard
Select Project at Top that you just created. (gvsip or whatever)
click credentials on left
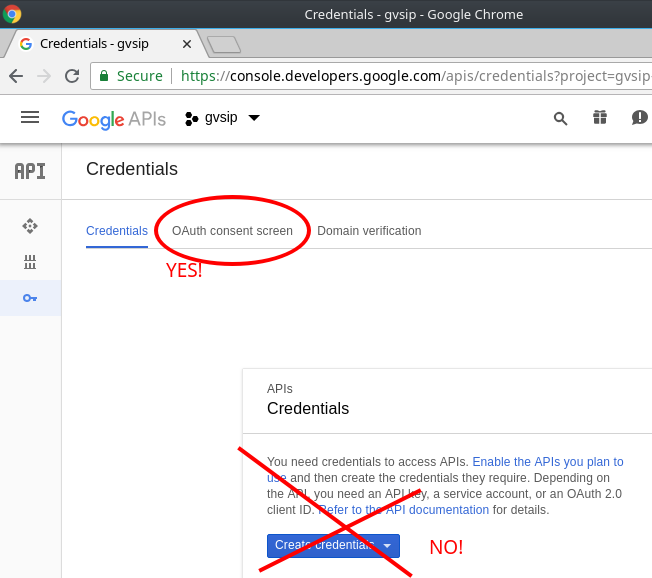
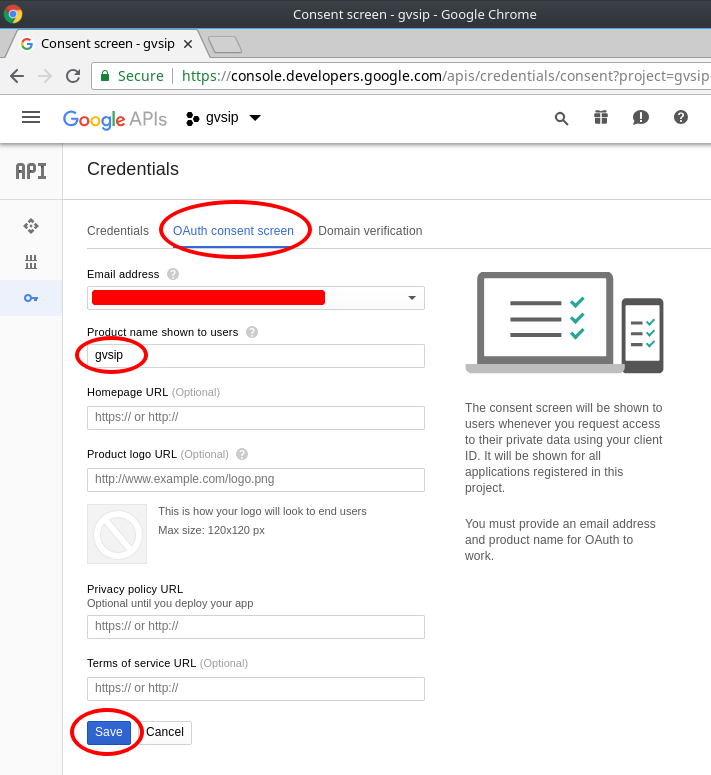
click OAuth consent screen
enter product name (gvsip or whatever)
click save
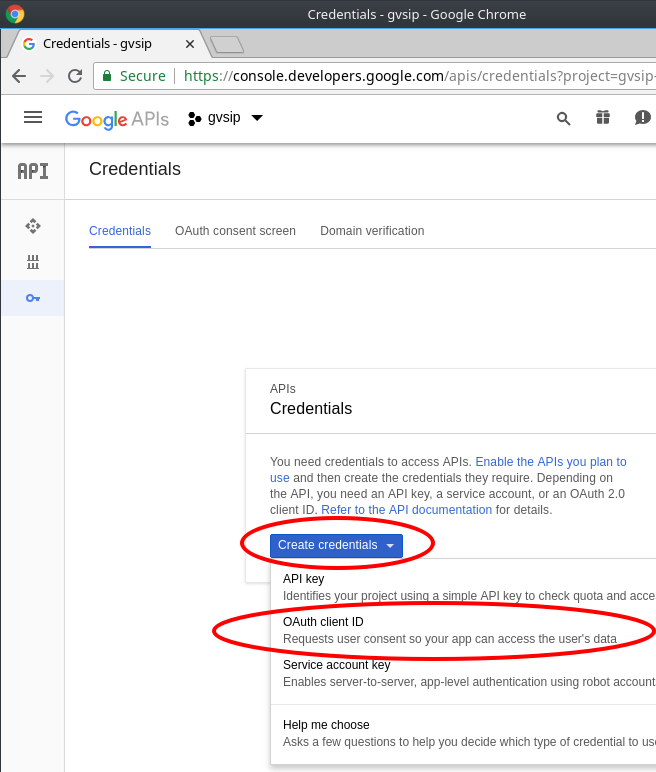
click Create credentials
click OAuth client ID
select Web application
enter a Name (gvsip or whatever)
at Authorized redirect URIs enter: https://developers.google.com/oauthplayground
click Create button twice
IMPORTANT, make sure that the Authorized redirect URI actually saves. If editing an existing project, you may have trouble with getting the Authorized redirect URI to save, I discovered this the hard way. Try deleting your current oauth credentials, and if that fails then delete the entire project.

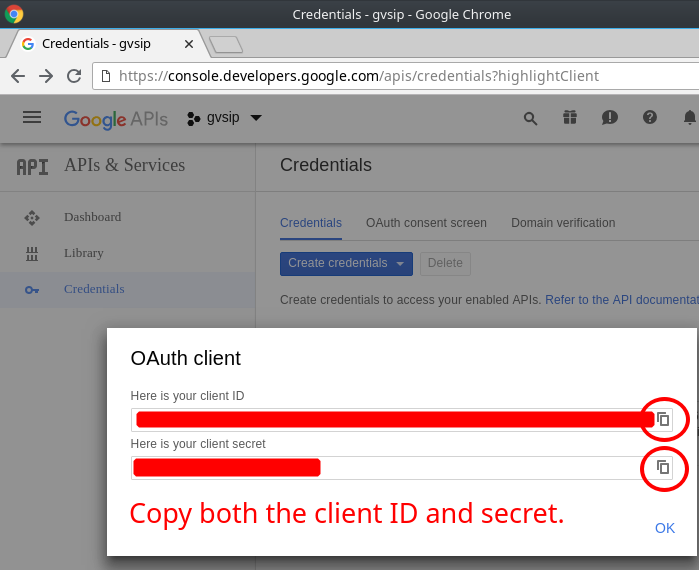
record Client ID and Secret
go to: https://developers.google.com/oauthplayground
click the gear icon in top right
check Use your own OAuth credentials
enter OAuth Client ID
enter OAuth Client secret
click Close
at Input your own scopes enter: https://www.googleapis.com/auth/googletalk
Click Authorize API
Sign in to google voice account again if it prompts you, then click Allow.

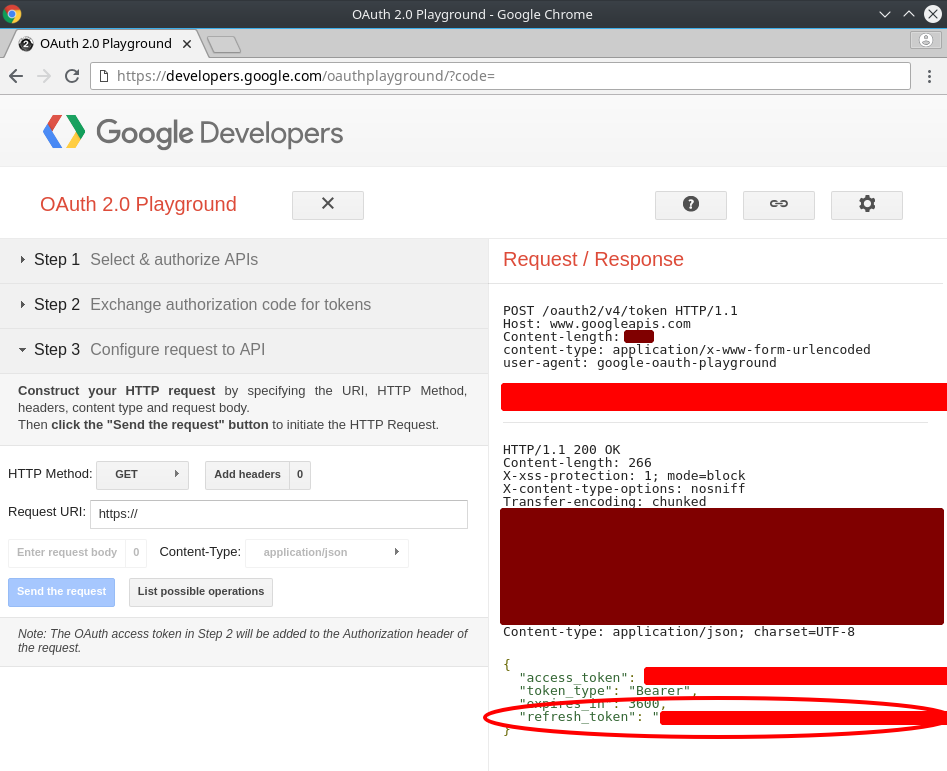
Click Exchange authorization code for tokens
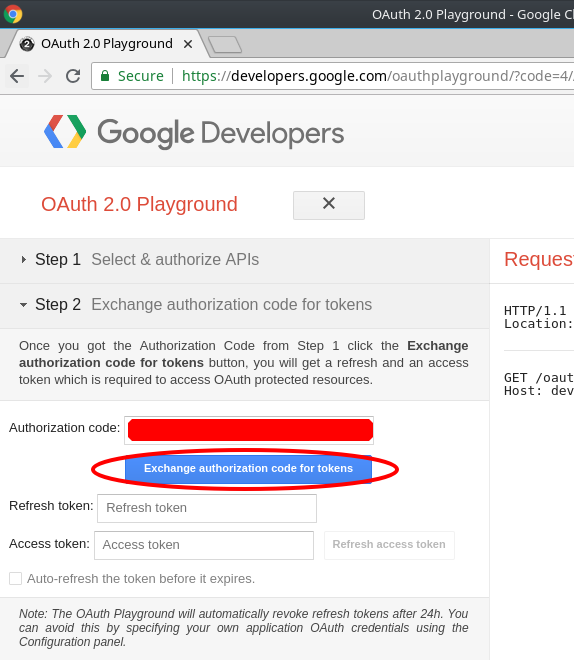
Record Refresh token
Congratulations! You should now have your client ID, client Secret, and Refresh token recorded so that you can use them for Oauth login, good luck.