** As with all things Hyper-V, before you do anything, make a backup of the VHD and then if you screw anything up, you can just switch back to the old VHD, All instructions past this point will assume you have a GOOD backup! **
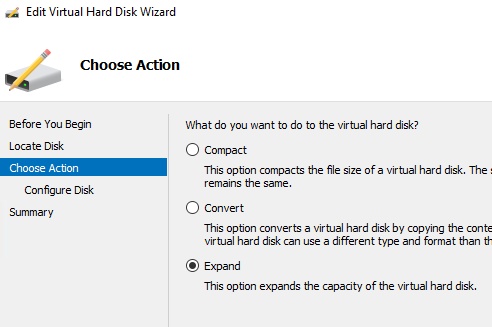
Stretching a drive in Hyper-V is fairly Simple - shut down the machine, go into Properties of the VHD(x) and choose Edit:

Then choose Expand:
Finally, pick a new size for the Drive:
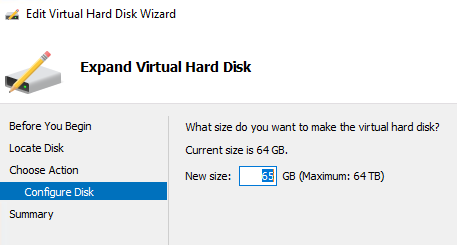
When this is done, you will have a larger drive - BUT - your Partitions on the drive will be the same size they were before - the drive will just be bigger.
On a standard Load, partitions are laid down like so:
[root@pbx-bdc ~]# fdisk -l
Disk /dev/sda: 68.7 GB, 68719476736 bytes
255 heads, 63 sectors/track, 8354 cylinders
Units = cylinders of 16065 * 512 = 8225280 bytes
Sector size (logical/physical): 512 bytes / 4096 bytes
I/O size (minimum/optimal): 4096 bytes / 4096 bytes
Disk identifier: 0x0008fd94
Device Boot Start End Blocks Id System
/dev/sda1 * 1 39 307200 83 Linux
Partition 1 does not end on cylinder boundary.
/dev/sda2 39 8257 66014208 83 Linux
/dev/sda3 8257 8355 786432 82 Linux swap / Solaris
[root@pbx-bdc ~]#
If you look at the Start and End you will see that the partitions are actually laid down like this on the Drive:
/boot
/
/swap
This is a problem - because the Swap is AFTER the root (/) partition - so you will need to nuke the existing swap, extend the root but make sure you leave enough space for swap, and then recreate the swap - Here is a guide I have used in the past to increase partitions sizes:
Again, because you are working with a backup, you can proceed with confidence.
You may also need to edit your /etc/fstab after you are done:
https://www.centos.org/forums/viewtopic.php?t=9209
If this seems like too much, the Backup-And-Restore might be simpler.